

 EN
 English
 Français
 Español
 عربى
Diaphragm pump maintenance is the routine inspection, cleaning, and scheduled replacement of the wearing components—the diaphragm, valve balls, valve seats, seals, and the pulsation dampener on the discharge side—that keep a pump at its rated flow, pressure, and repeatability. That simple routine is the difference between a pump that runs for years between overhauls and one that stops a production line without warning. A torn diaphragm, a scored valve ball, or a stalled air valve rarely appears overnight; each one gives measurable warning signs well before failure.
The economic case is equally direct: the hourly cost of unplanned downtime in most plants is higher than the price of a complete rebuild kit, and the labor for a 30-minute preventive check is trivial compared with an emergency disassembly in the middle of a shift. Professional operators treat maintenance as scheduled insurance, not as a reaction.
Content
- 1 Why Regular Diaphragm Pump Maintenance Is Your Cheapest Insurance
- 2 Recommended Maintenance Schedule and Service Intervals
- 3 Step-by-Step Diaphragm Pump Maintenance Procedure
- 4 Common Diaphragm Pump Failure Modes and How to Diagnose Them
- 5 Choosing Replacement Parts and Matching Materials to Service
- 6 Repair vs. Replace: Making the Call
- 7 Diaphragm Pump Maintenance FAQ
Why Regular Diaphragm Pump Maintenance Is Your Cheapest Insurance
Most diaphragm pump failures are gradual and predictable, which means they are preventable with a basic service routine. The diaphragm flexes continuously in service—hundreds of cycles per minute—so flex fatigue, heat aging, and chemical attack are normal wear mechanisms. The check valves are the second most common trouble spot; a single strand of fiber or a grain of grit can hold a valve ball off its seat and reduce flow by half. On air-operated pumps, dirty or wet compressed air adds a third failure point: the air distribution valve.
Neglect produces a familiar chain of consequences:
- Lost production from an unplanned shutdown
- Dosing, filling, or transfer inaccuracy as flow drifts below specification
- Product loss and cross-contamination when a ruptured diaphragm pushes process fluid into the air side
- Secondary damage to the air motor, housing, or manifold that turns a cheap repair into a full replacement
Compared with a centrifugal pump, an air-operated double-diaphragm pump tolerates dry running and closed discharge better, but that toughness gives many operators a false sense of security. The pump still wears; it simply fails later and more quietly.
Recommended Maintenance Schedule and Service Intervals
For a pump in daily service, the right cadence is a quick monthly inspection and a complete rebuild every 6 to 12 months, with the actual interval set by media temperature, abrasiveness, and chemical aggressiveness. The table below summarizes typical intervals for continuous service. A pump on light intermittent duty may stretch these numbers by half; a pump handling abrasive slurry or hot solvents may need to shorten them by half.
| Component | What to check | Typical interval |
|---|---|---|
| Diaphragm | Blisters, tears, edge thinning, bolt-hole pulling | 6 to 12 months |
| Valve balls and seats | Scoring, pits, embedded debris, swelling | 6 to 12 months |
| O-rings and seals | Hardness, cuts, permanent deformation | Every rebuild |
| Pulsation dampener | Pre-charge at about 70% of discharge pressure | Monthly |
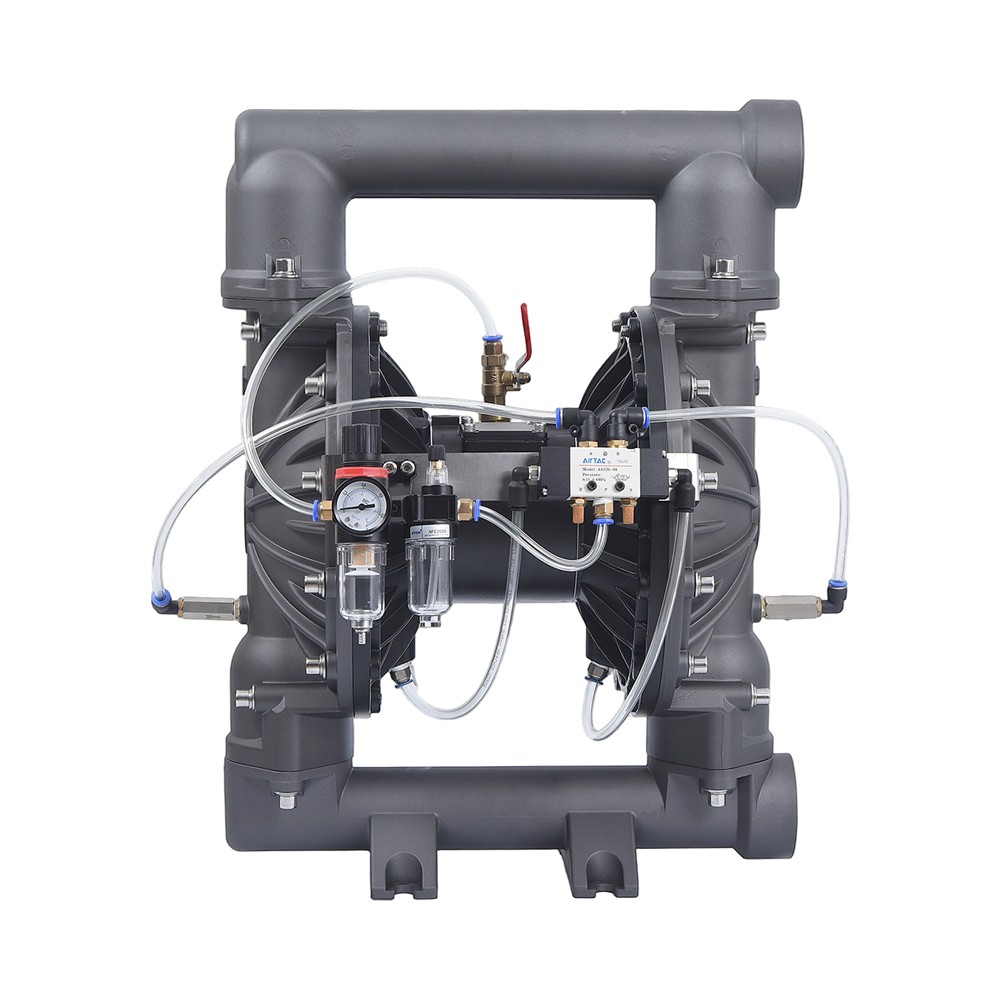
| Air filter and air valve (AODD) | Filter condition, spool wear, sticking | Filter monthly; valve as needed |
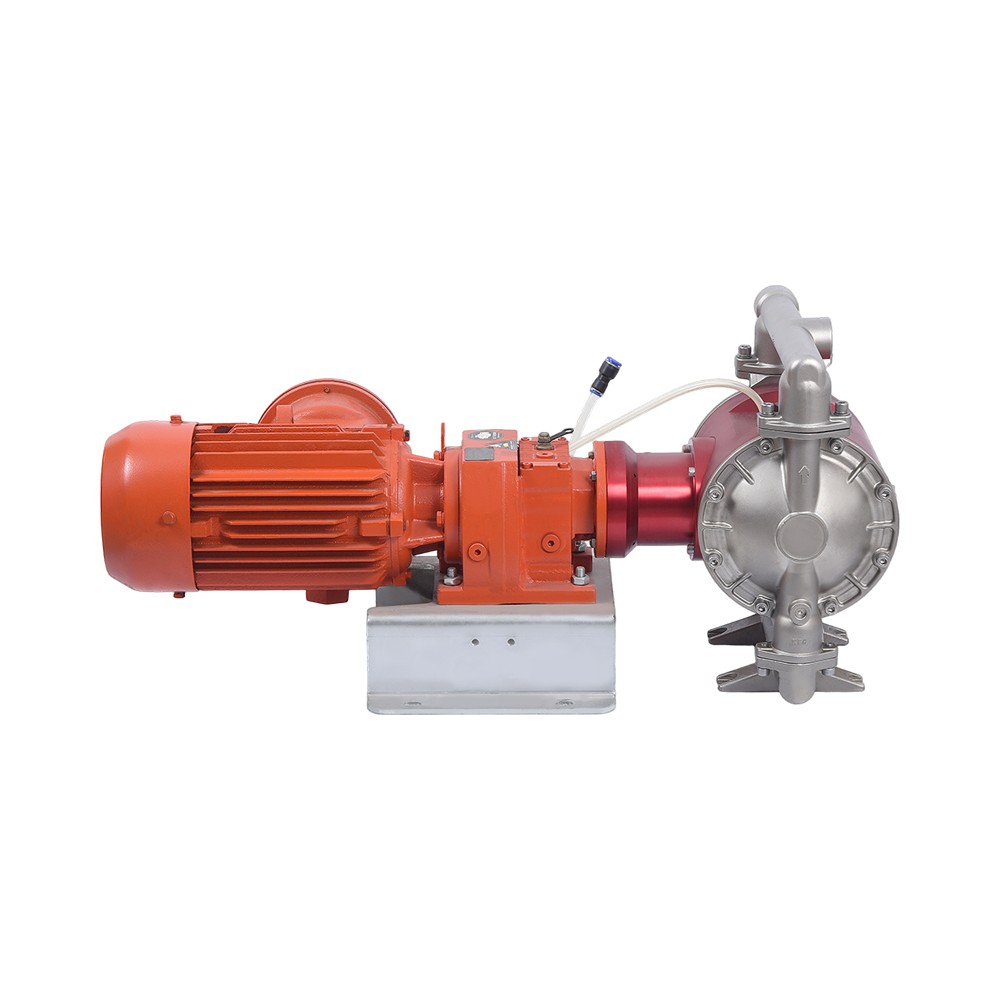
Electric diaphragm pumps follow the same schedule, with the stroke mechanism and motor coupling replacing the air valve as the parts to inspect during the monthly check. The manufacturer's manual always overrides a generic interval, so record torque values and test procedures for the specific model.
A correctly charged pulsation dampener reduces shock loads on the diaphragm and check valves, and it is the cheapest way to extend the interval between rebuilds.
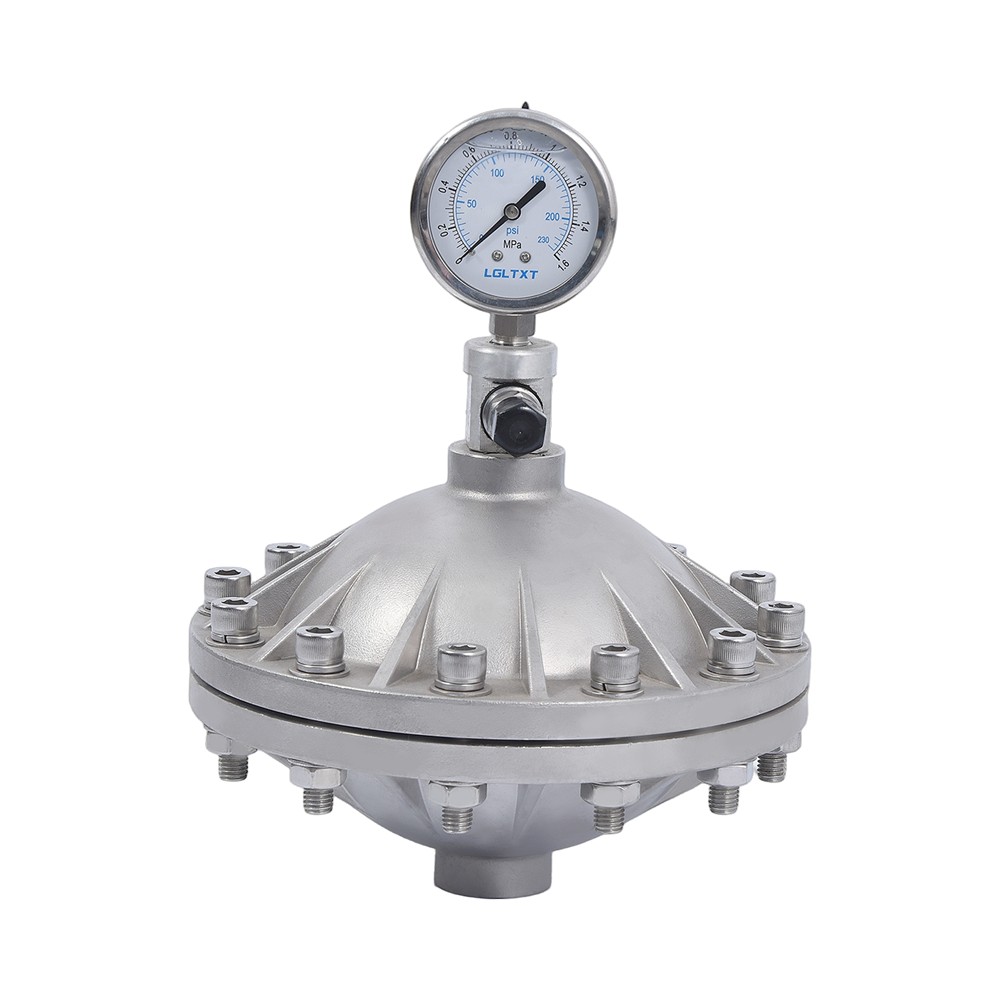 Pulsation Dampener for Diaphragm PumpsThis dampener reduces shock loads on the diaphragm and check valves when correctly charged, offering a cost-effective way to lengthen intervals between rebuilds.View Product →
Step-by-Step Diaphragm Pump Maintenance Procedure
Every successful service job follows the same sequence: isolate, depressurize, disassemble, clean, inspect, replace, retorque, and test. Work through the steps in order, and the rebuild takes less than an hour on most pumps.
- Isolate the pump. Close the suction and discharge valves, disconnect hoses or flanges, and lock out the compressed-air supply or motor according to your site's energy-isolation procedure.
- Depressurize both chambers. Open the bleed and drain fittings and confirm that the liquid chambers and, on air-operated models, the air chamber all read zero pressure.
- Remove the outer chamber plates. Keep the hardware sorted by position, or take photographs at each stage; they make reassembly far easier.
- Clean the wetted surfaces. Flush the chambers and valve cavities with a compatible solvent and remove all debris, since a single particle under a valve ball will cause the pump to underperform.
- Inspect the diaphragm. Look at the flex zone for blisters, cuts, and thinning, and check the bolt holes for tear-out. If a diaphragm shows any damage, replace both sides as a set.
- Install the new wear kit. Use a genuine rebuild kit containing matched diaphragms, valve balls, seats, and O-rings; mixing old and new seals on the same joint is the fastest route to early leakage.
- Reassemble with controlled torque. Tighten the chamber bolts in a crossing pattern, in two or three stages. Overtightening is especially damaging to PTFE-faced diaphragms, which deform and lose their sealing edge.
- Test before returning the pump to service. Start at low air pressure, check for external leaks and for air bubbles in the discharge, then raise to normal pressure and verify flow.
Common Diaphragm Pump Failure Modes and How to Diagnose Them
Nearly every diaphragm pump problem falls into a small set of patterns, and matching the symptom to the root cause is the fastest way to fix it. Use the table below as a first-pass diagnostic tool before you disassemble anything.
| Symptom | Most likely causes | Check first |
|---|---|---|
| Low output or no flow | Starved suction, worn valve balls, a ball stuck on its seat | Valve balls and seats, suction strainer |
| Erratic or surging flow | Air pressure fluctuation, failing diaphragm, leaking suction joint | Air regulator, diaphragm |
| Fluid leaking from the air exhaust | Torn diaphragm or loose chamber fasteners | Diaphragm and bolt torque |
| Air bubbles in the discharge | Ruptured diaphragm or leaking gasket | Diaphragm face and seal |
| Pump stalls mid-cycle | Dirty or worn air valve, debris in the valve cavity | Air valve and filter |
On an electric diaphragm pump, add the motor's thermal overload and the stroke-adjustment mechanism as prime suspects; a pump that trips after warming up is usually drawing too much current because of a binding link or a hydraulically locked chamber.
Choosing Replacement Parts and Matching Materials to Service
Replace wear parts with the same elastomer family the pump was built with, unless the process chemistry has changed and the pump is being converted deliberately. The elastomer choice is a balance of chemical resistance, temperature rating, and flex life.
- Neoprene: general-purpose, good abrasion resistance, limited in solvents
- EPDM: excellent for acids, alkalis, and weathering; not for oils
- FKM fluoroelastomer: high-temperature and aggressive-chemical service
- PTFE-faced: broad chemical resistance with a shorter flex life
- Polyester elastomers: tough in abrasive duty, limited by temperature
The pump body material matters even more because it sets the cleaning and compatibility limits during maintenance. Polypropylene is the economical default for many acid and plating lines, and it is easy to clean with mild solvents.
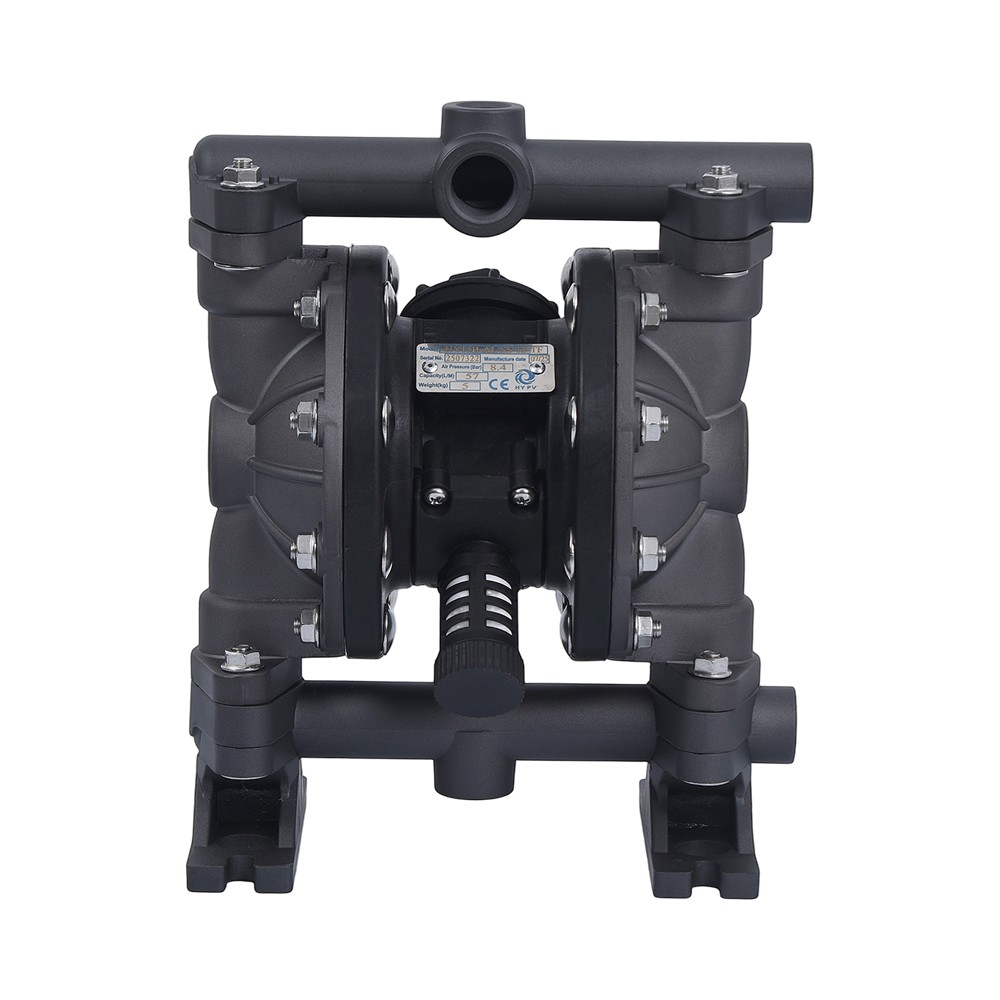
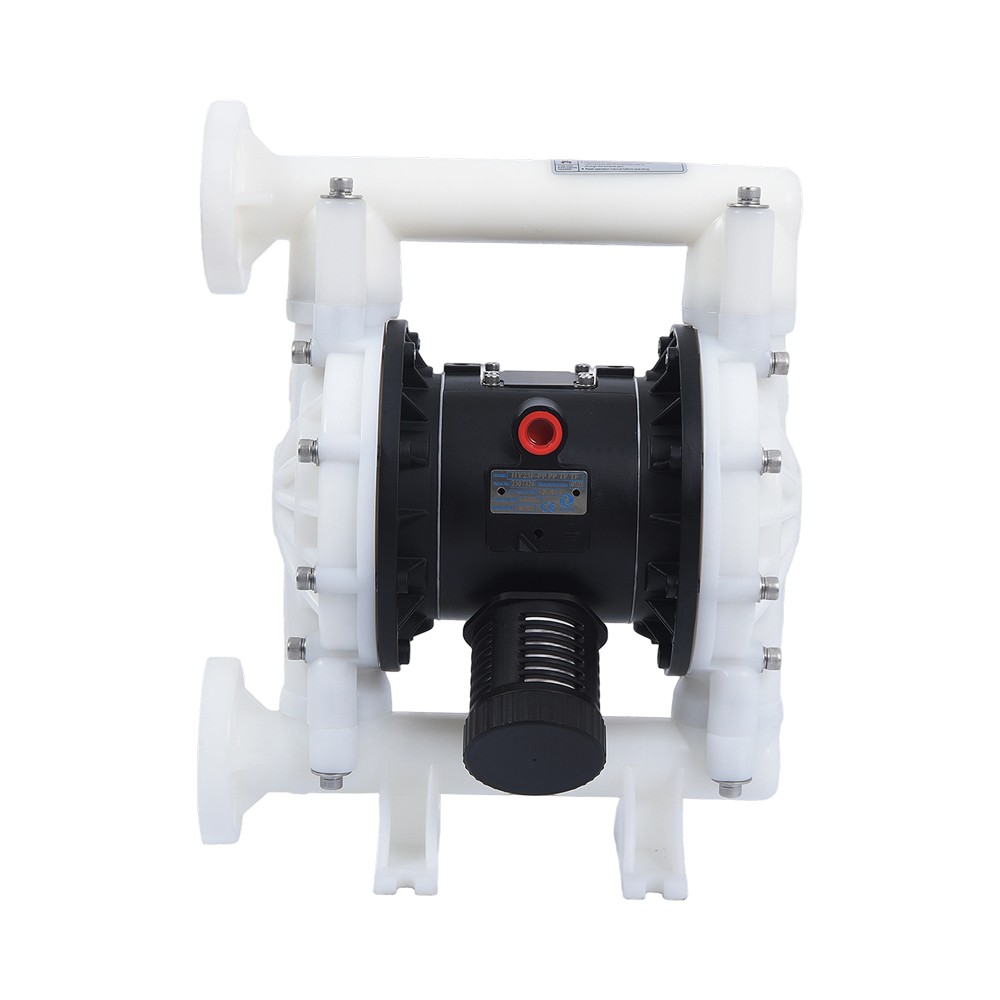 1-inch Polypropylene Diaphragm PumpThis 1-inch polypropylene pump is an economical default for acid and plating lines, and its body is easy to clean with mild solvents, suiting many corrosive applications.View Product →
If your media contains chlorides, hypochlorite, or food products, a 316 stainless steel body resists corrosion and cleans up to sanitary standards. For hot, aggressive acids and solvents, a PVDF body is the safer specification. Confirm that the replacement diaphragm and valve elastomers are compatible with the current media; an elastomer that swells will fail in weeks even if the rest of the pump is sound.
Repair vs. Replace: Making the Call
A complete rebuild kit typically costs 20 to 40 percent of a new pump, so replacing the wear kit is the right decision whenever the housing, shafts, and drive are still sound. Rebuild when the body is un-corroded, the threads are intact, and the pump shows no cracks or permanent distortion. Replace the pump when you find a cracked manifold, stripped chamber fasteners, heavy corrosion pitting, or a history of repeated failures at the same joint. After two or three rebuilds, most pumps have reached the end of their economic life.
Body material is the deciding factor in corrosive service: a 316 stainless steel pump will usually outlive two rebuilt pumps, and it is the lowest total-cost choice where media attack aluminum or plastics.
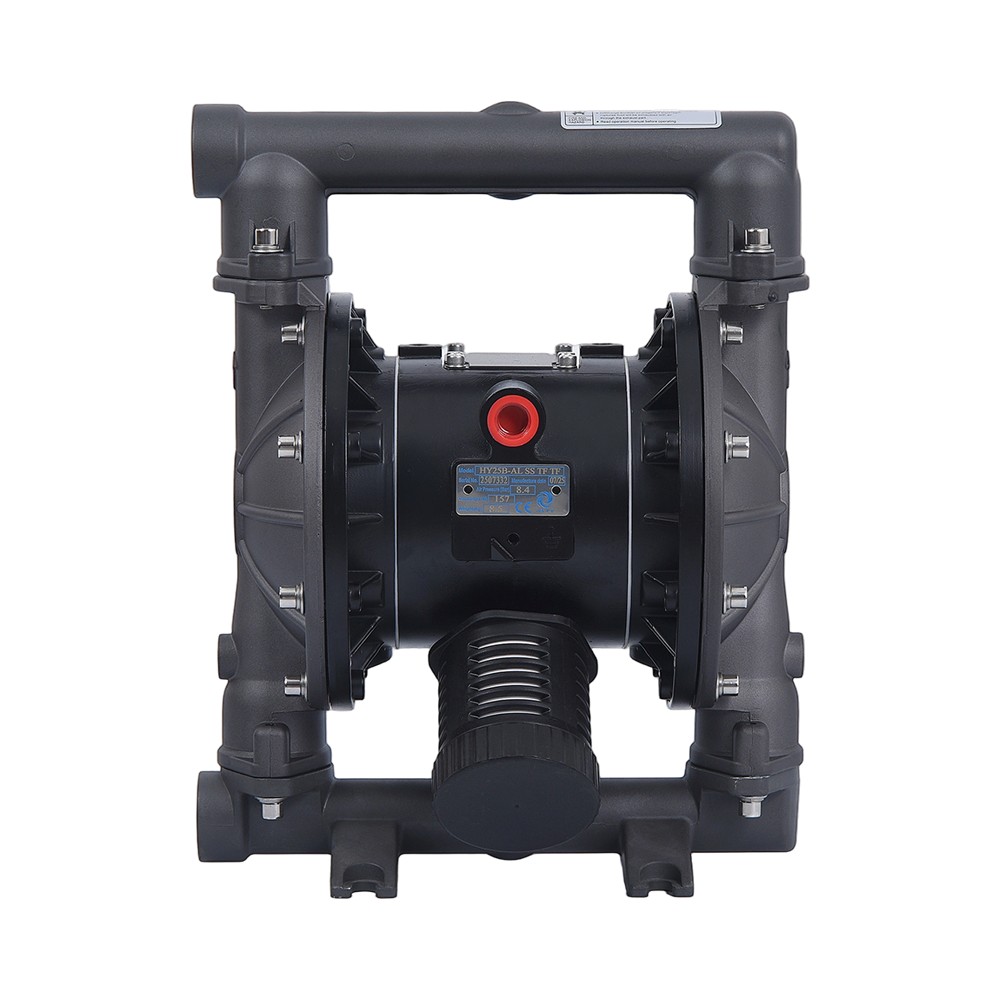
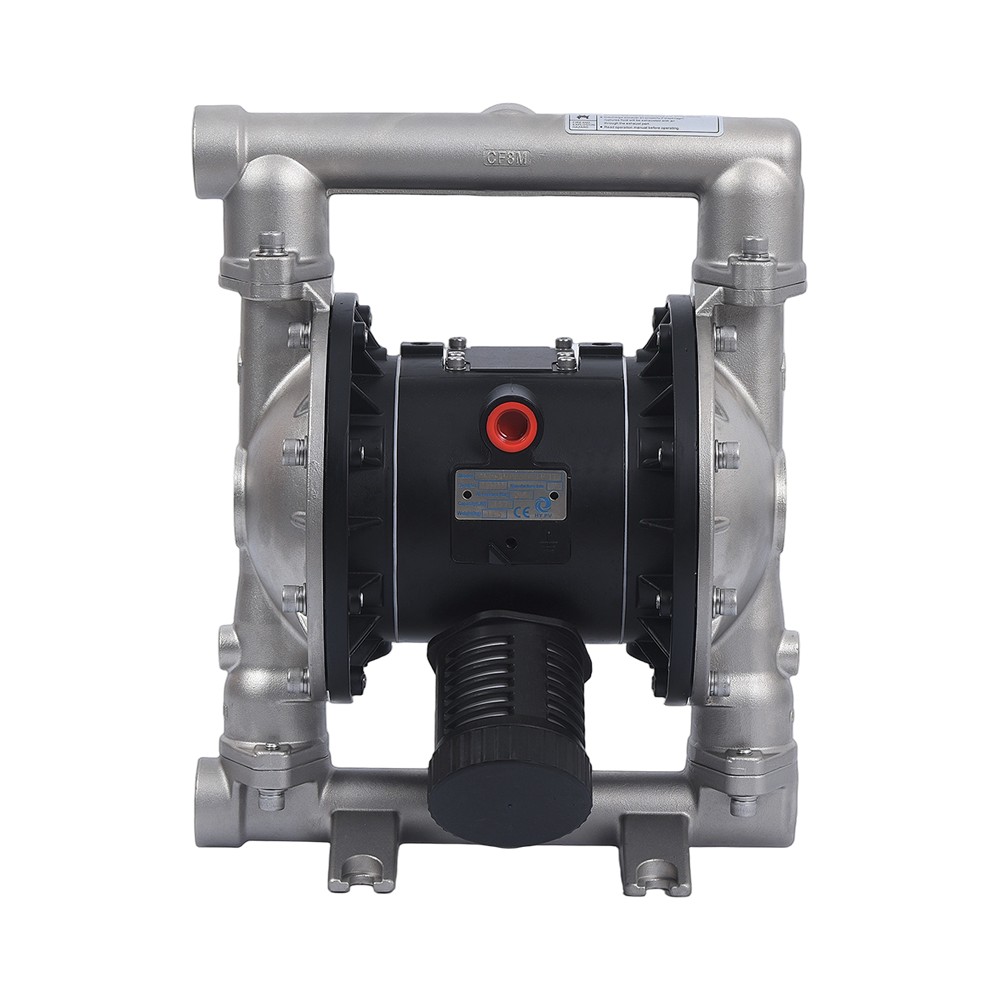 1-inch Stainless Steel Diaphragm PumpThis 1-inch stainless steel pump is built for corrosive service, typically outlasting two rebuilt units, making it a low total-cost choice where media attack other materials.View Product →
For critical continuous duty, many plants buy a second pump instead of an emergency rebuild. The spare pump goes into the line, and the failed unit is rebuilt at the bench, which cuts downtime from hours to minutes.
Diaphragm Pump Maintenance FAQ
How often should a diaphragm pump be rebuilt?
For continuous service, plan a full rebuild every 6 to 12 months. Light intermittent duty can stretch that to 18 months; abrasive slurries, hot solvents, and high discharge pressure can shorten it to 3 months. A monthly inspection will quickly establish your real interval.
Can a torn diaphragm be repaired, or must it be replaced?
Replace it. A patched diaphragm cannot flex evenly, the repair will peel at the edge of the patch, and the reinstallation labor is wasted. Once a diaphragm tears, process fluid can cross into the air side, so prompt replacement is also the safe option.
Why is my air-operated diaphragm pump leaking fluid from the air exhaust?
That is almost always a ruptured diaphragm. Media has passed through the tear into the air chamber and is leaving through the muffler. Isolate the pump, depressurize it, and replace both diaphragms as a set even if only one appears damaged, because the second one is usually close to the same state.
What causes premature diaphragm failure?
The five leading causes are overpressure above the pump's rating, overtightened chamber bolts that distort the diaphragm edge, dry running on electric models, chemical attack from incompatible elastomers, and a pulsation dampener that has lost its pre-charge. Reviewing these five factors resolves most short-life complaints.
Diaphragm pump maintenance is simple, predictable, and inexpensive compared with the alternatives: a monthly checklist, a stocked rebuild kit, and a log of every service event will keep the pump delivering long after a neglected one would have stopped the line. For regular reliability guidance and application advice, follow industry news updates from your pump manufacturer and adapt the intervals to your own process data.