

 EN
EN
 English
 Français
 Español
 عربى
عربىTo fix a diaphragm pump that has lost pressure, is leaking fluid, or has stopped pumping entirely, the most common repair procedure is to replace the worn or ruptured flexible diaphragm, clean or replace the check valves, and inspect the pump housing for cracks or debris. According to the Hydraulic Institute, diaphragms are the primary wearing component in these positive displacement pumps, and they typically require replacement after 1,000 to 3,000 operating hours depending on the fluid abrasiveness and operating pressure. Understanding how to fix a diaphragm pump is a practical skill for anyone maintaining agricultural sprayers, fluid transfer systems, air-operated double-diaphragm (AODD) pumps, or portable dewatering units, because most failures can be resolved in under an hour with basic hand tools and a rebuild kit.
Content
- 1 1. Diagnosing the Root Cause Before You Fix a Diaphragm Pump
- 2 2. How to Replace a Worn or Ruptured Diaphragm
- 3 3. Cleaning and Replacing the Check Valves
- 4 4. Fixing Air Leaks That Reduce Pump Performance
- 5 5. Maintaining the Air Motor on Air-Operated Pumps
- 6 6. Rebuilding a Diaphragm Pump vs. Replacing the Entire Unit
- 7 Frequently Asked Questions About Fixing a Diaphragm Pump
1. Diagnosing the Root Cause Before You Fix a Diaphragm Pump
Before disassembling the pump, a methodical diagnosis based on the specific symptom—whether the pump cycles but produces no flow, leaks externally, or runs erratically—pinpoints the failed component and prevents unnecessary replacement of still-functional parts. The following table matches common symptoms to their most likely causes, providing a roadmap for the repair.
| Symptom | Most Likely Cause | Required Fix |
|---|---|---|
| Pump runs but produces no flow or very low flow | Torn diaphragm or debris blocking the ball check valves | Replace diaphragm; clean or replace check valves and valve seats |
| Fluid leaking from the pump body or exhaust port | Ruptured primary diaphragm (fluid in exhaust) or failed shaft seal | Replace diaphragm and inspect shaft seals; replace if damaged |
| Pump cycles too fast or erratically | Worn air valve or pilot valve in AODD pump | Rebuild or replace the air motor assembly |
| Air bubbles visible in discharged fluid (cavitation) | Loose inlet fittings or cracked suction hose allowing air ingress | Tighten clamps; replace damaged hoses; check suction strainer |
| Pump stalls under pressure | Insufficient air supply volume or blocked muffler | Clean or replace muffler; verify air compressor output |
2. How to Replace a Worn or Ruptured Diaphragm
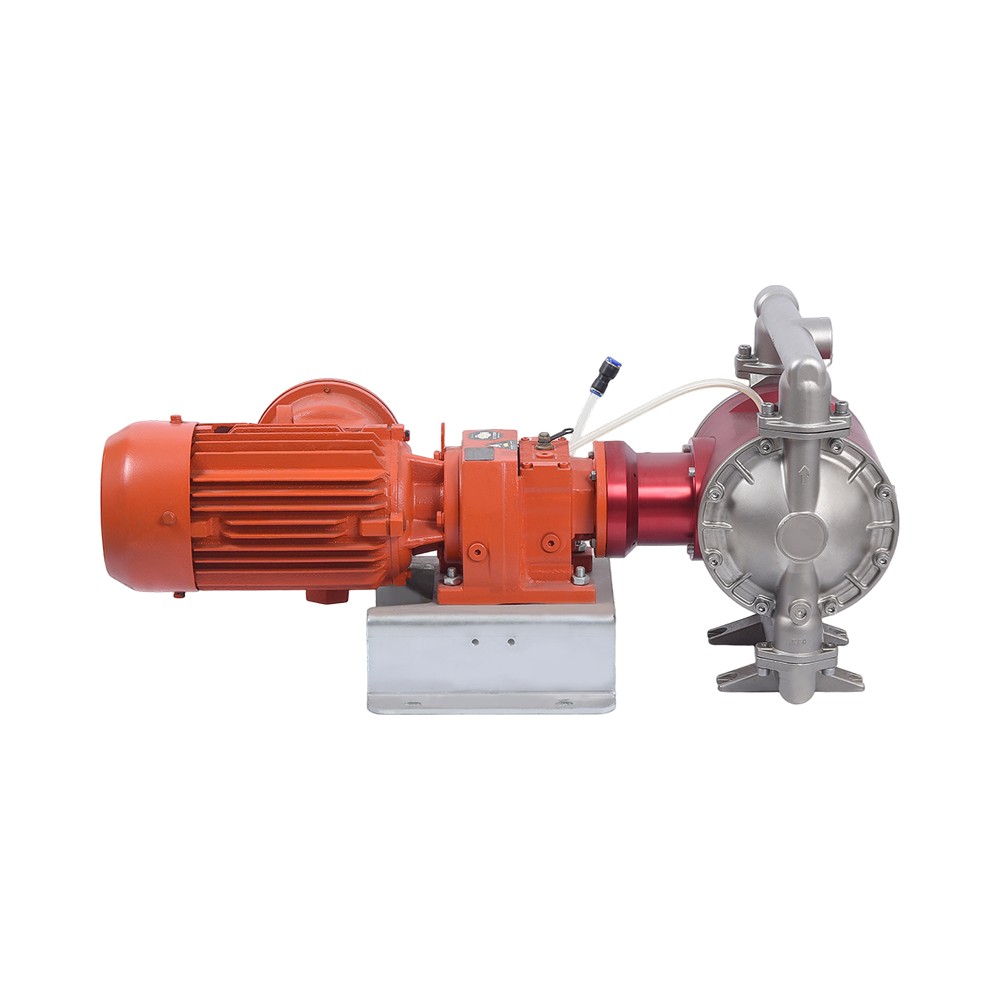
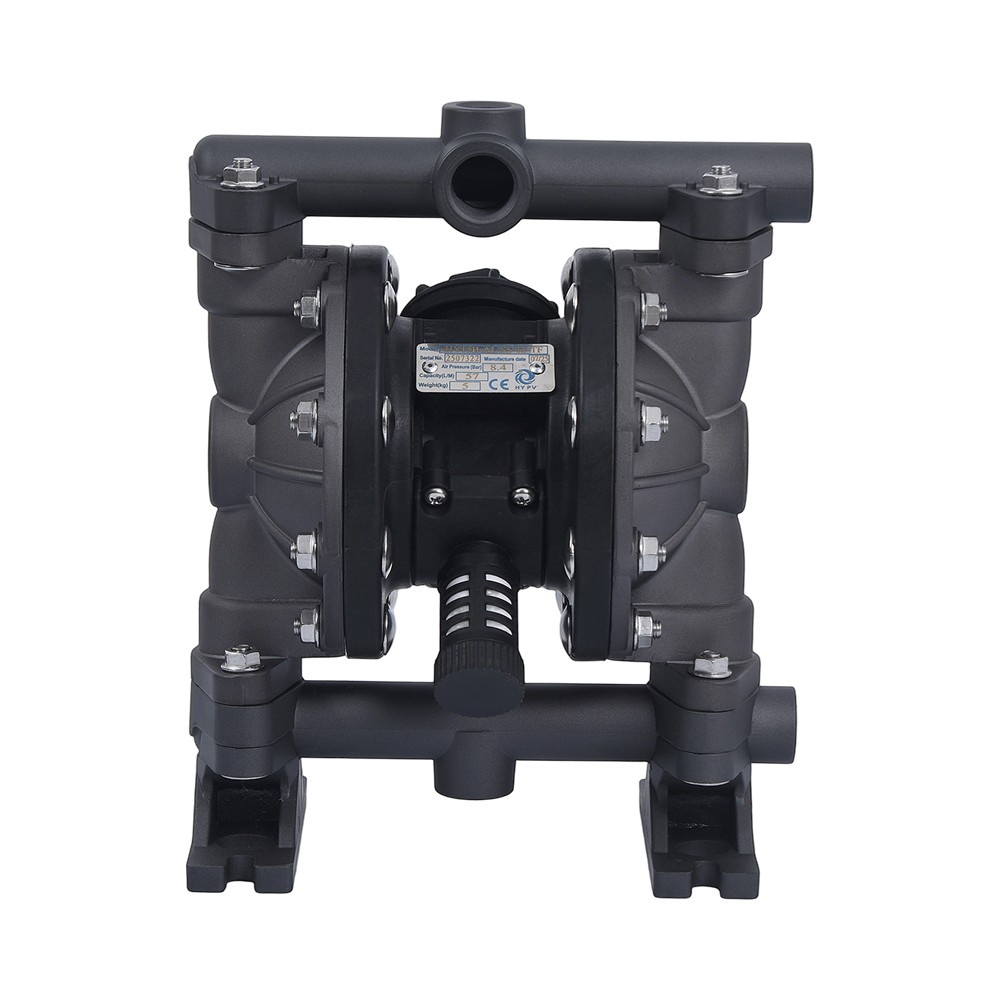
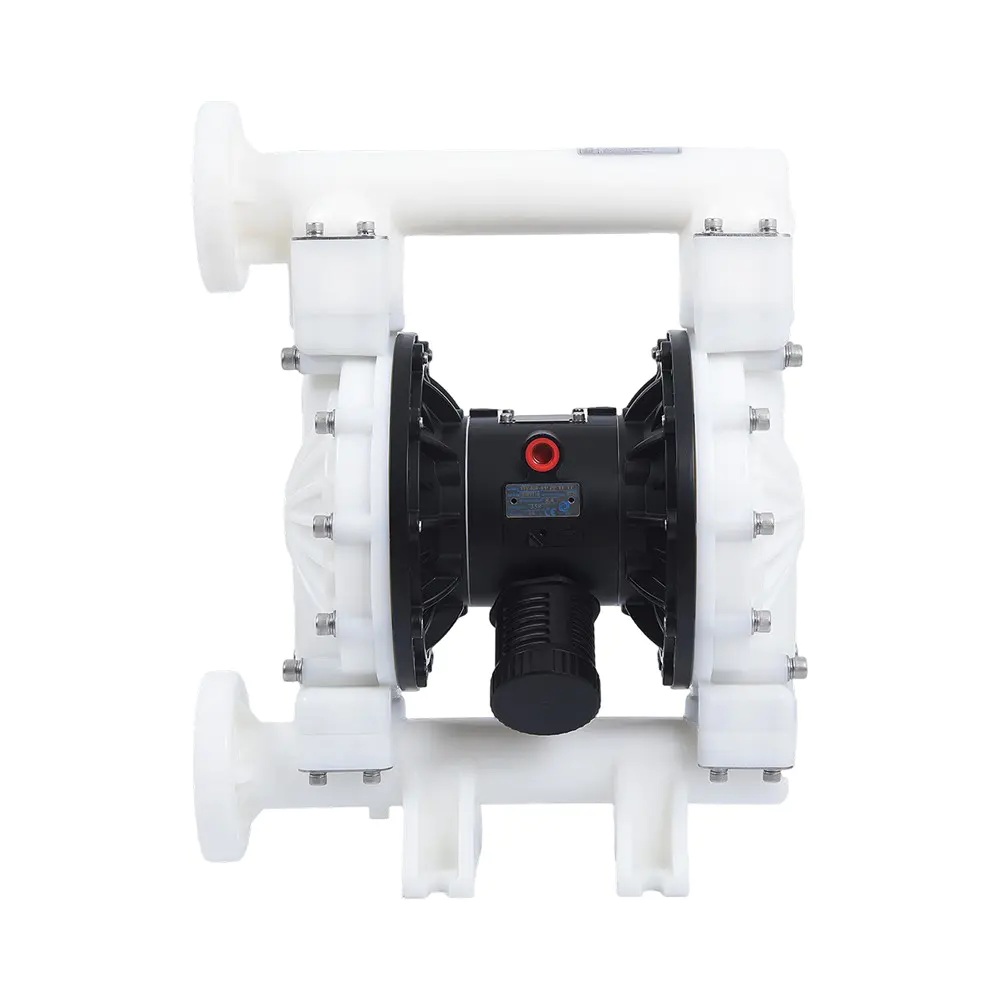
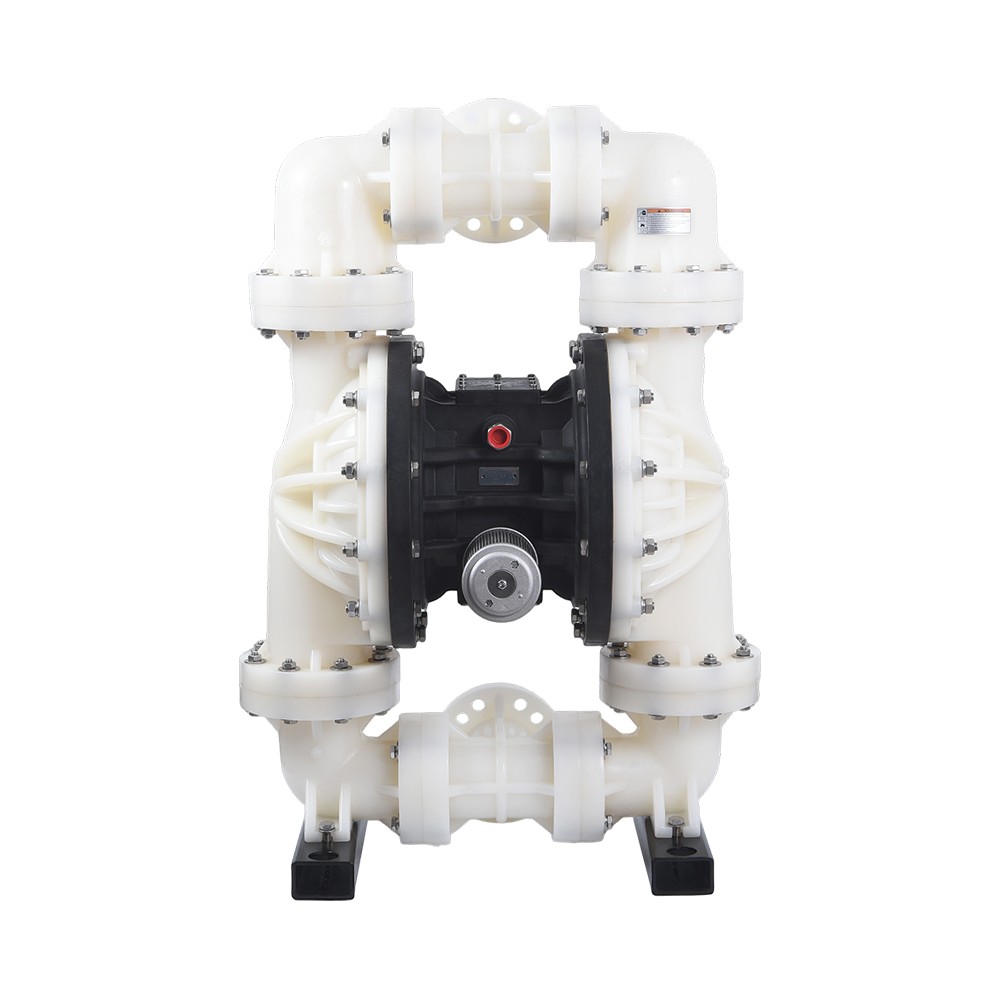
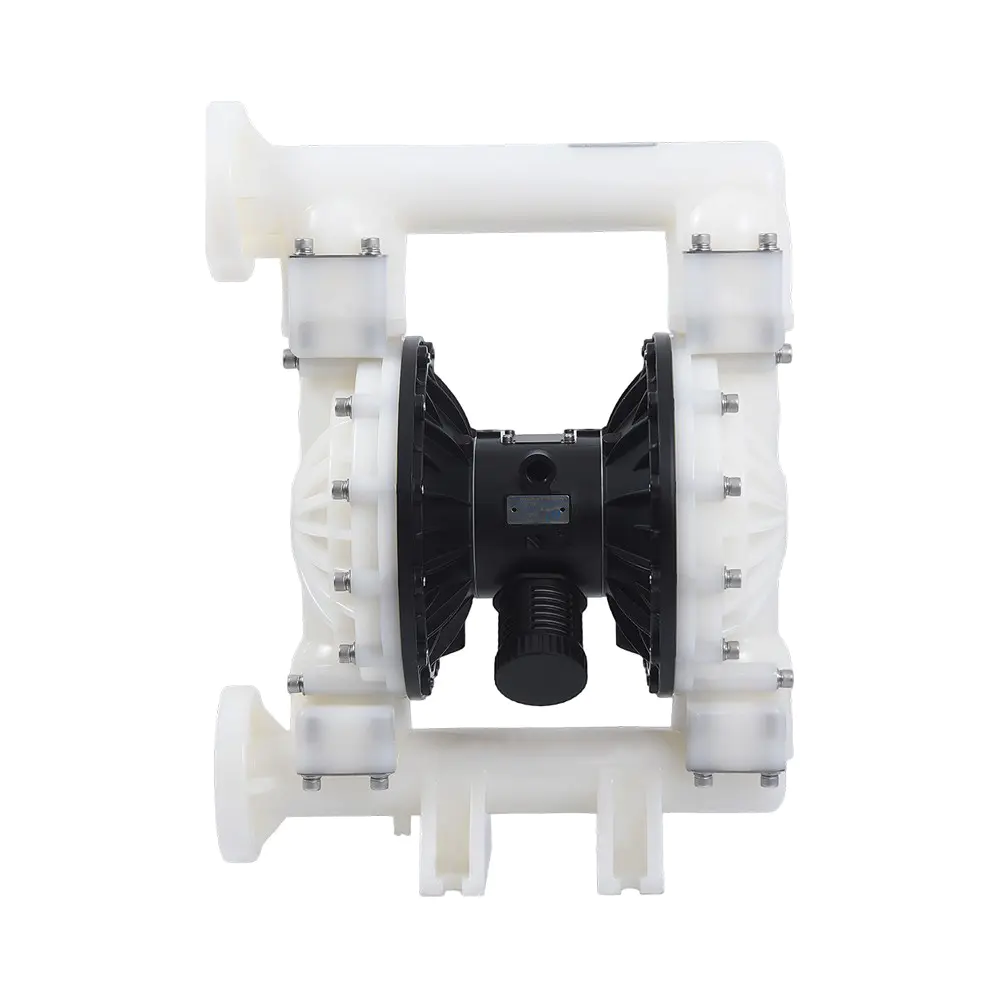
The most common fix for a diaphragm pump is replacing the diaphragm, a flexible membrane typically made of rubber, PTFE, or thermoplastic elastomer, which cracks or tears after prolonged flexing and exposure to the pumped fluid. The replacement process is essentially the same for most air-operated double-diaphragm pumps and electric diaphragm pumps. Gather a rebuild kit specific to your pump model, which should include the diaphragm, check valve balls, valve seats, O-rings, and gaskets. The following step-by-step procedure provides general guidance applicable across major manufacturers:
- Disconnect power and isolate the pump. For an AODD pump, disconnect the compressed air line and lock out the air supply. For an electric pump, unplug the power cord. Close the suction and discharge valves if the pump is installed in a fixed line.
- Remove the manifold and outer chamber covers. Unbolt the bolts securing the inlet and outlet manifolds. Remove the outer diaphragm chamber covers on both sides of the pump, exposing the outer side of each diaphragm.
- Unscrew and remove the old diaphragm. The diaphragm is attached to a central shaft or piston via a threaded plate or bolt. On a standard double-diaphragm pump, unscrewing the diaphragm on one side also releases the opposite diaphragm. Note the orientation of the diaphragm—most have a raised lip or beaded edge that sits inside a groove in the pump housing.
- Inspect the shaft and inner chamber. With the diaphragms removed, clean any debris, dried chemical residue, or torn diaphragm fragments from the inner chamber and the shaft surface. Check the shaft for corrosion or pitting; if damaged, the shaft must be replaced.
- Install the new diaphragms. Thread the new diaphragm onto the shaft and tighten it to the manufacturer's torque specification, typically 25 to 50 foot-pounds (34 to 68 newton-meters) for a 1-inch pump. Apply a small amount of anti-seize compound to the threads if recommended. The diaphragm should seat smoothly into the housing groove without twisting.
- Reassemble the pump and torque all bolts. Replace the outer chamber covers and tighten the bolts evenly in a cross pattern to the specified torque to ensure a uniform seal and prevent distortion of the housing. Reattach the manifolds and reconnect the air or power supply.
After reassembly, slowly introduce pressure or power and cycle the pump dry for a few strokes to verify the diaphragms are moving freely before putting the pump back into service.
3. Cleaning and Replacing the Check Valves
If the pump runs but delivers little to no fluid, the check valves—usually simple spring-loaded balls or flapper discs—are likely clogged with debris, or the valve seats are worn and no longer seal properly. The check valves are located inside the inlet and outlet manifolds. To fix a diaphragm pump with a flow problem, remove the manifold and extract the valve balls and seats. Clean any dirt, dried chemical crystals, or fibrous debris from the valve pockets using a soft brush and warm water. Inspect the valve balls for wear grooves or cracks, and check the O-rings on the valve seats for compression set or chemical swelling. If the balls do not seat securely or the O-rings are flattened, they must be replaced. The cost of a replacement check valve kit is typically $20 to $60, far less than the downtime caused by a pump that will not prime. When reinstalling the valves, ensure the balls are seated in the correct orientation—some pump designs use different size balls or different spring tensions for the suction and discharge sides—and that the valve retainer is properly aligned. A valve ball installed backward or a missing retainer clip is a common assembly error that causes the pump to immediately fail upon startup.
4. Fixing Air Leaks That Reduce Pump Performance
Air leaks on the suction side or through worn shaft seals are a leading cause of poor pump performance, and they can be fixed by tightening hose connections, replacing cracked suction hoses, and installing new O-rings and gaskets at every joint in the pump housing. Even a pinhole in the suction hose can draw in enough air to break the vacuum required for priming. Inspect all hose connections and tighten the clamps, replacing any hose that shows cracks or soft spots. The gaskets and O-rings that seal the manifold-to-housing joints can also dry out and shrink after years of exposure to chemicals and heat, creating a leak path. Replacing these seals is straightforward and is included in a standard diaphragm pump rebuild kit. Apply a thin film of silicone grease or the lubricant recommended by the pump manufacturer to the new O-rings before installation to prevent them from rolling or pinching as the manifold is torqued down. After reassembly, a simple leak test can be performed by pressurizing the pump slowly with water and checking for drips around the manifold joints before returning it to full service.
5. Maintaining the Air Motor on Air-Operated Pumps
On air-operated double-diaphragm pumps, a malfunctioning air motor—the center section that contains the air valve, pilot spool, and muffler—is often mistaken for a fluid-side problem, and fixing it requires cleaning or rebuilding the air valve assembly. The air motor cycles compressed air back and forth between the two diaphragm chambers. Over time, moisture from the compressed air supply can cause corrosion or the formation of ice in the valve ports if the pump is used in humid environments. A sticky or sluggish air valve causes the pump to cycle unevenly or stall at the end of a stroke. To fix a diaphragm pump with air motor issues, disconnect the air supply and remove the air valve cover. Slide out the valve spool and clean it with a solvent to remove any gum or corrosion. Inspect the valve port seals or O-rings for wear and replace them if they are cut or flattened. The muffler, located on the exhaust port, can also become clogged with ice or dust over time, causing back-pressure that stalls the pump. Cleaning or replacing the muffler is a simple task that often restores normal cycling speed. If the pump is operated in freezing conditions, installing a water separator on the air line upstream of the pump prevents moisture from entering the air motor and is the most effective long-term fix for cold-weather air valve problems.
6. Rebuilding a Diaphragm Pump vs. Replacing the Entire Unit
If the pump housing is cracked, the shaft is bent, or the total cost of the rebuild kit plus labor approaches 60% to 70% of the price of a new pump, replacing the entire unit is often the more economical decision. A standard rebuild kit for a 1-inch AODD pump costs between $80 and $250, while a new pump of similar size ranges from $400 to $1,200. For pumps that have been in service for many years or have been exposed to highly corrosive chemicals, the housing material itself may have degraded, and no amount of new internal parts will restore reliable operation. When you fix a diaphragm pump by rebuilding it, always inspect the housing bores and the shaft for wear or chemical attack before ordering parts. If the shaft shows visible wear grooves, the new diaphragms and seals will not last, and a new pump or a factory-remanufactured replacement is the correct course of action. For large industrial pumps used in continuous processes, many manufacturers offer exchange programs where a rebuilt pump is shipped immediately, and the failed unit is returned as a core, minimizing production downtime.
Frequently Asked Questions About Fixing a Diaphragm Pump
Can a torn diaphragm be temporarily repaired or patched?
No. A diaphragm pump relies on the diaphragm to separate the pumped fluid from the mechanical drive components, and a patch will fail rapidly under the cyclic flexing that occurs with every stroke. A torn diaphragm must be replaced with a new, manufacturer-approved diaphragm. Operating a pump with a leaking diaphragm can allow fluid to enter the air motor or gearbox, causing far more extensive and expensive damage.
How can I prevent my diaphragm pump from failing again?
The most effective preventive measures are installing a suction strainer to block debris from entering the pump, using a water separator or air dryer on the compressed air supply, and operating the pump within its rated pressure and flow range. Over-pressurizing the pump or deadheading the discharge for extended periods dramatically shortens diaphragm life. For pumps handling abrasive slurries, flushing the pump with clean water after each use removes settled solids that can score the diaphragm and valves during the next startup.
Do I need special tools to rebuild a diaphragm pump?
Most diaphragm pump repairs can be completed with standard combination wrenches, a socket set, a torque wrench, and flathead screwdrivers. Some larger pumps require a strap wrench to hold the diaphragm shaft while loosening the diaphragm plate. The specific tools are usually listed in the service manual for the pump model. No specialized or proprietary tools are required for routine diaphragm and valve replacement on most standard AODD pumps.
Learning how to fix a diaphragm pump is a valuable skill that can restore full flow and pressure in less than an hour with a modest investment in a rebuild kit. By systematically diagnosing the symptom, replacing the worn diaphragms and check valves, and sealing all air leaks, most common pump failures can be resolved without calling a service technician or purchasing a replacement unit. Regular inspection and preventive maintenance extend the interval between repairs and keep critical fluid-handling processes running without interruption.